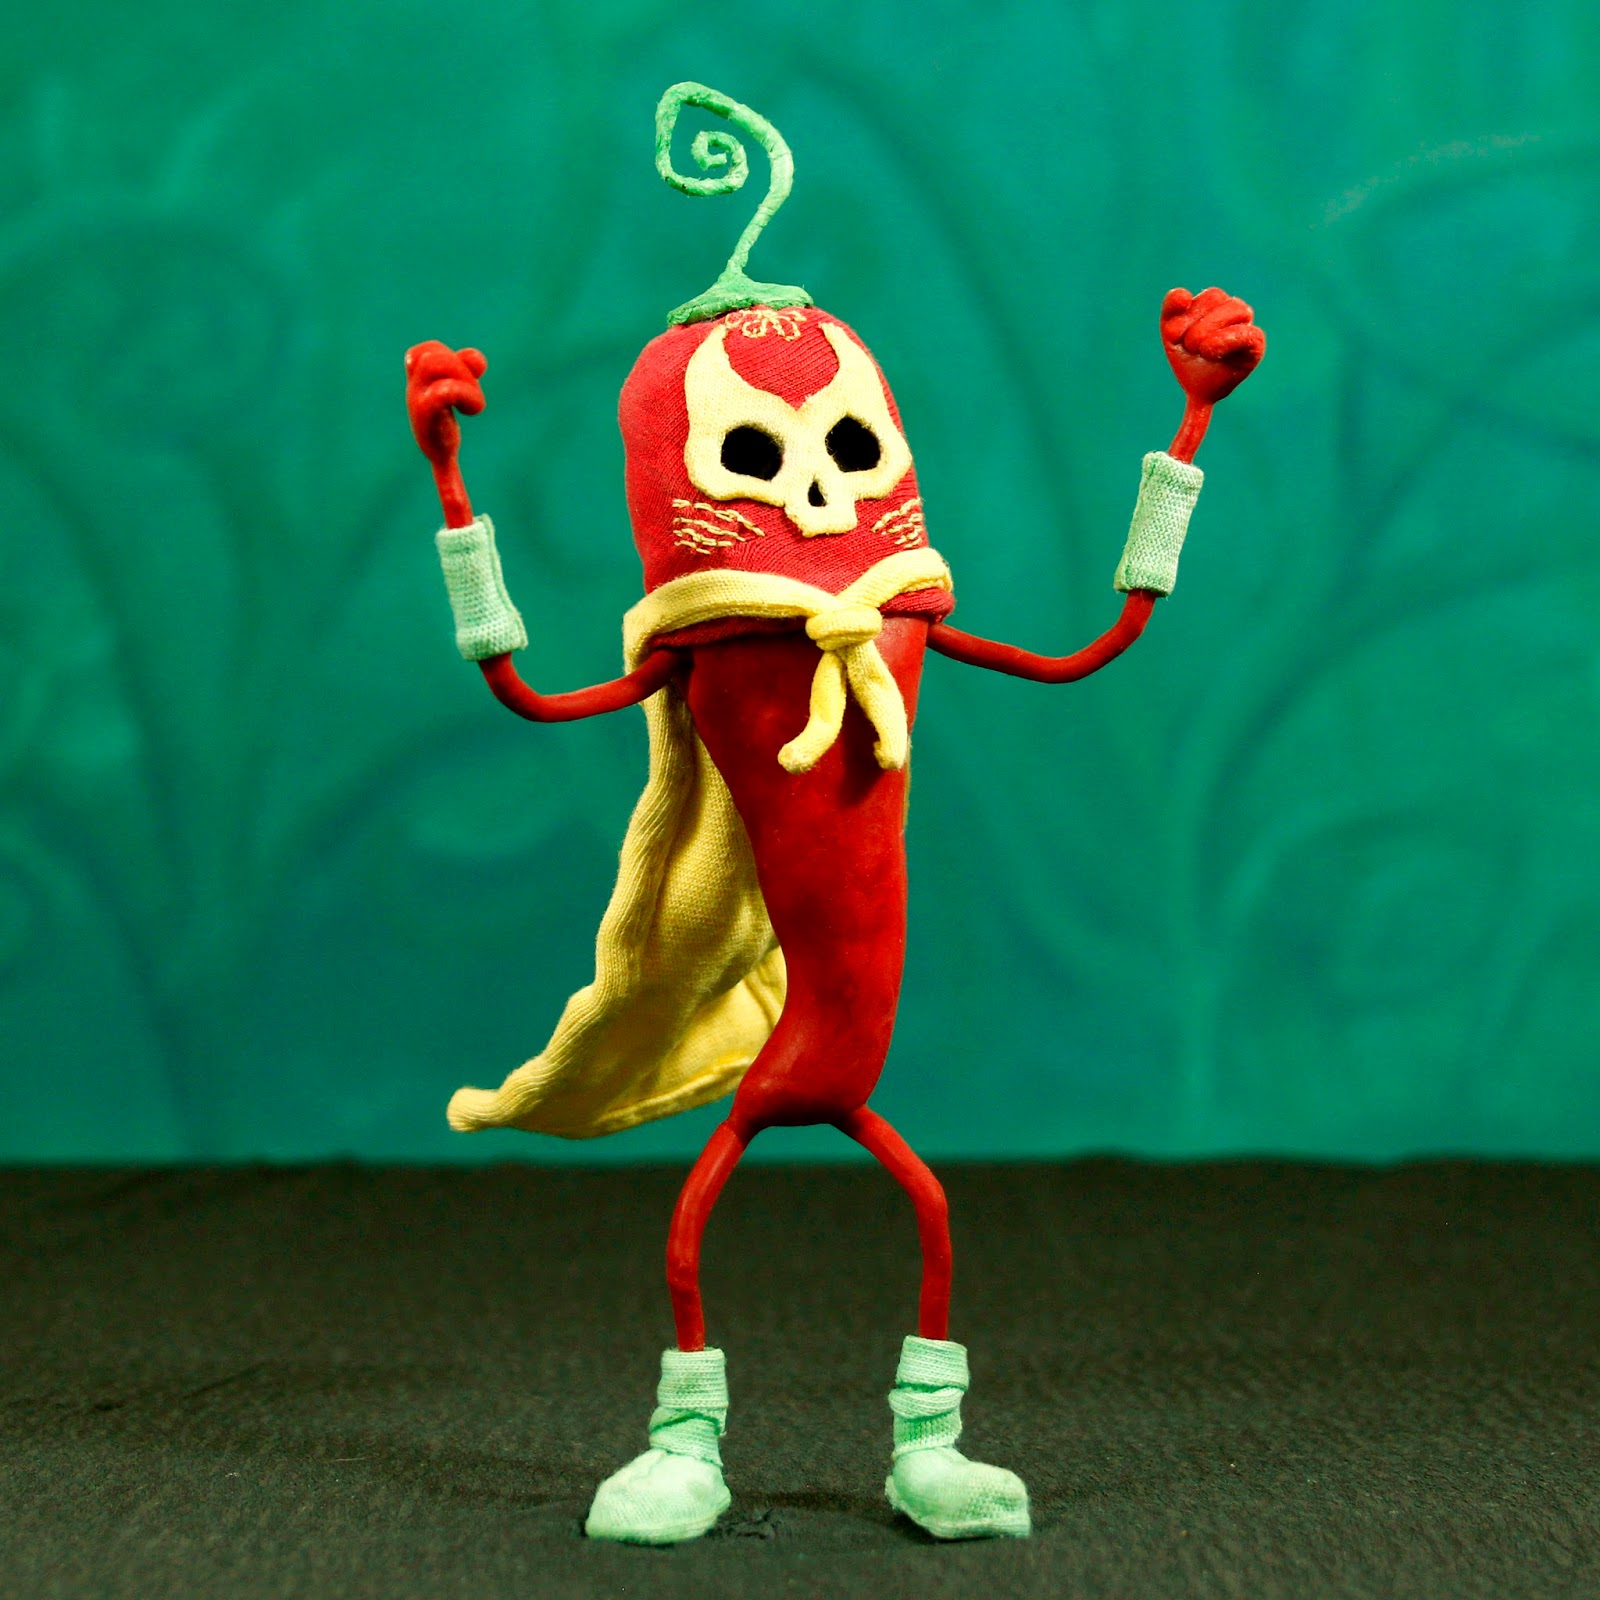
Last month I was commissioned to make an advert for Habaneros Burrito Bar and was very excited to put together the 'Chilli Man' concept. The idea was to show the chilli going from farm to plate, and what better way to show this than with a stop motion chilli growing out of the ground and racing his way to the burrito bar, ready to be used in chilli sauce. The chilli was also going to be a Mexican wrestler, so I designed him with this in mind, as well as incorporating Habaneros' existing style and logo into the design.
I created the armature using milliput for the bones, as I needed him to be quite small, 15.5 cm tall to be precise.
I used foam to create the bulk of his body and coated the hands in liquid latex, tinted bright red.
After much experimenting with different materials and techniques, I decided to use latex pure and simple for his skin, and so coated his whole body in it, keeping the layers a thin as possible, as latex adds a lot of weight and if applied too thickly causes resistance on the spine, making it difficult to animate. It worked out very well though and my Chilli Man has a full range of movement.
I moulded his head from polymer clay which I baked and then painted black. I then bulked it out with foam.
I hand dyed and stitched this little Mexican wrestling mask, based on the skull logo of Habaneros.
To make the cape, I cut a piece of paper to the size I wanted it and then drew around this onto my fabric.
I drew out a template of the skull logo on paper, cut it out and then drew round it onto the fabric, drawing in the details.
I used the pencil guidelines to stitch the skull onto the fabric.
The cape needed to animate, so I got a piece of my cape fabric which would be the back of the cape. I then made a wire frame with a cross down the middle of it and glued this between two pieces of fabric, making a wire sandwich, which I then placed onto the back of the cape. I then placed the front of the cape on top of these layers. I cut the fabric layers to the size I needed (so a little bigger than the size of the cape) and then hand stitched around the edge. The wire frame meant that I would be able to animate the cape. I also used a strand of wire in the drawstring of the cape, to give more control of its movements.


Now, on my concept drawing, I had given the Chilli Man some tattoos. So I made some from latex by dipping a needle in it and drawing with it on a piece of laminated wood, allowing it to dry before adding more layers. When it was thick enough and completely dry I was able to pull it off the wood. I was then going to use more latex to glue it onto the body. However, I decided it looked better without, as although it worked in my 2D drawing, it just looked a bit cluttered when rendered in 3D.
Here's the final puppet, I will post some better photos of him at a later date, but for now, I need to get to work on the chilli farm set he is going to inhabit!